Demolition and Start of Rebuild
Well, last Sunday when I really got to look into things I found that the condition of my antenna and transmission line was worse than I initially thought. I decided to take it down and rebuild it from scratch. It has been up for nearly 20 years and nothing left outside that long comes through unscathed.
Since this is a construction project, all be it a quite small one, I should take the opportunity to apply some of the stuff I have learned from 40 years of working construction projects for a living.
First off, how about a little Lessons Learned. This is often called “Lessons Learnt” in the business but I refuse to use the word “learnt”. After all, we fought two bloody wars with Britain (I refuse to use the word “great” also) to rid ourselves of such awkward words.
Lessons Learned
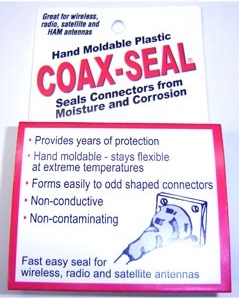
Lessons Learned programs in the business tend to concentrate on t he negative, things that went wrong that we need to do differently next time. But there is a positive aspect as well that should always be considered. What went right? Let’s do it again! For my original installation I coated all of the bare electrical connections with a product called “Coax Seal”. This stuff rocks! In the picture below you can see that the metal where I scraped away the Coax Seal is still bright and shiny like it was brand new. I am going to use this stuff again.
I need to be able to lower the antenna when high winds or the Deed Restriction inspector are expected. Last time I facilitated this by putting a splice in the coax so I could disconnect the line and tilt down the mast to the ground. That didn’t work well. I had a mechanical failure resulting in an open circuit to the antenna. This time I will use one continuous piece of coax and leave some slack so the mast can be tilted down. This will increase my line losses some but probably not enough to notice.
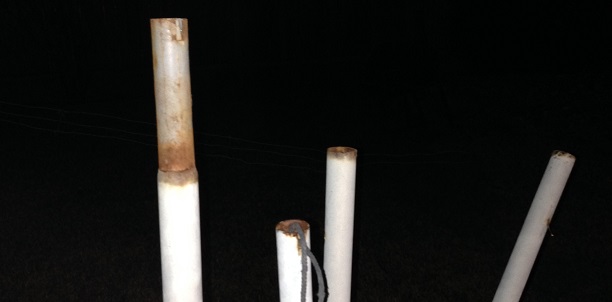
 Corrosion of the antenna mast was starting to be a problem as you can see in that’s the photo above. There were a few spots that had rusted through. This time I am using a galvanized mast instead of painted steel and coating the joints and top to keep the rain out.
That’s it for Lessons Learned, now on to Safety.
Safety
Let’s do a safety analysis of the work at hand. Amateur Radio antenna work is most often near overhead power lines. In my case there are no overhead power lines so I am clear on this.
This job will need various hand tools, pliers, hammer, screwdriver, sharp knife. Protective clothing required. Long sleeves, gloves, check. Also I will have to drill some holes in the antenna mast to attach the antenna. Safety glasses, check!
There are no overhead “head bangers” around so no hard hat necessary (good I don’t have one).
What about energy sources? In this case no energy will be applied (electrical) until all connections are made and insulated.
The job can be done safely.
Progress
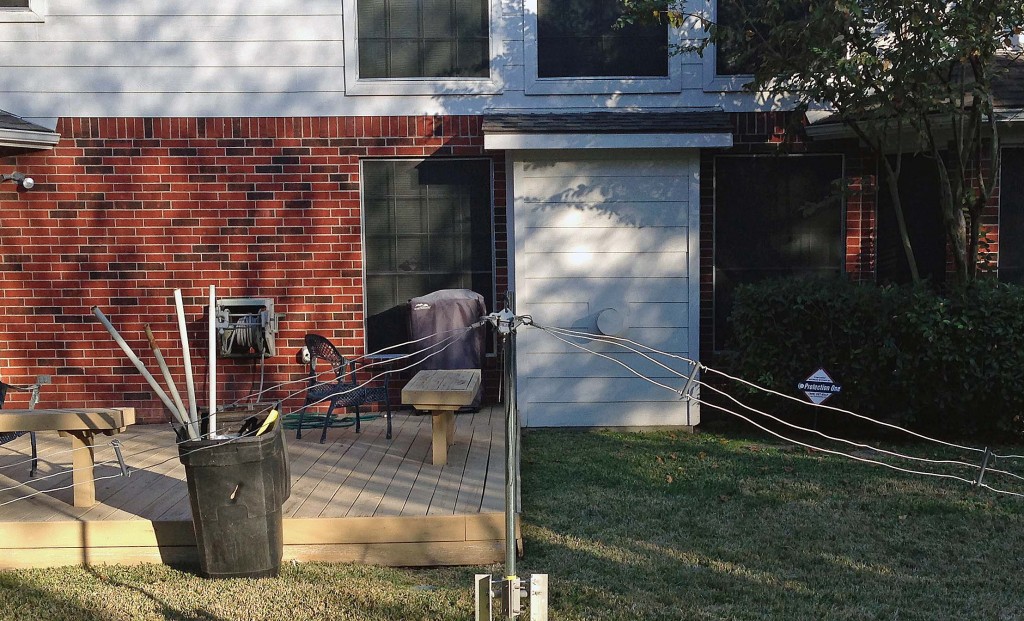
The weather this week end was downright beautiful and I am a bit disappointed that I did not get more done while it was nice outside. I was able to take down the old antenna, mast and feed line and start on assembling the antenna. In the photo below the antenna is assembled on a test stand. Last time I assembled the antenna on the ground which required lots of bending. This time I have it off the ground so I can work standing. This is a big improvement.
To Be Continued….


